Crafting a Makeup Vanity – A Challenging Build
Consultation, Design and Preparation
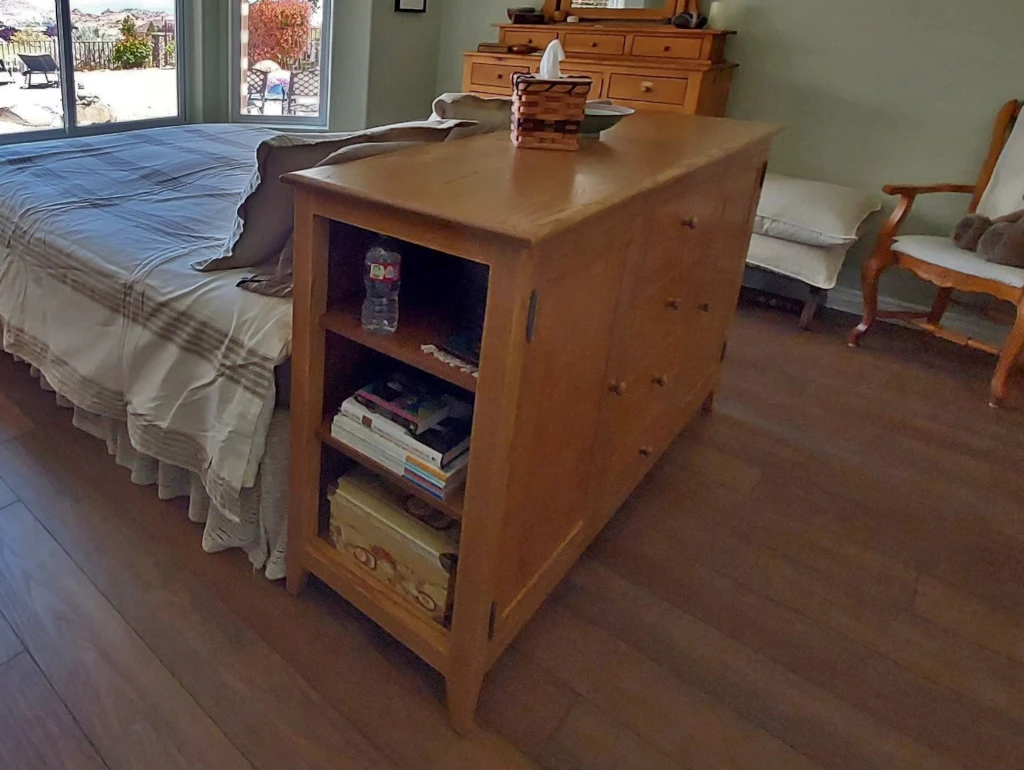
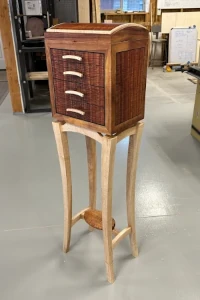
This project started when I completed a previous build for a client. That client asked me to build a jewelry box on a stand for a Christmas gift for his wife. After completing the project they asked if I could build them a custom vanity to match their existing cabinetry.
Design – Every Successful Project Starts with a CAD Drawing
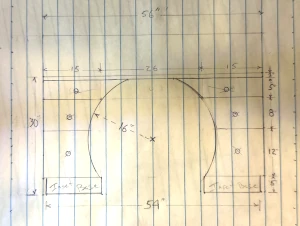
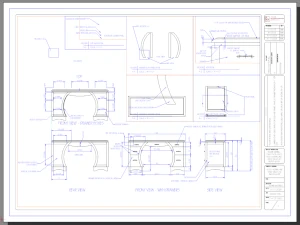
During the design phase the project morphed into a unique design sure to test my skills and all that I have learned. The client sent me a sketch of what they were looking for[photo of sketch]. I used my CAD software to create a scaled drawing of the design to convey in a scaled way how the final project will look. [photo of CAD drawing] This is an important step because the look of the project in your mind may not match how the final build will look. After the first design was sent for review the client asked for a couple of design modifications. After the changes were made, we had a final design.
On top of the design change from the original request the wood choices were also changed. Originally the wood was to be Hard Rock Maple, but after seeing the Curly Maple, Koa, and Ebony. These are very special woods and the top of my favorite woods list.
I welcome the unique aspects of this design and look forward to solving the challenges this project is sure to throw my way.
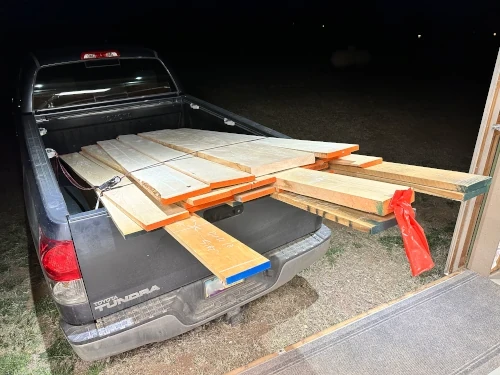
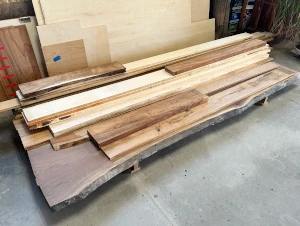
Lumber Selection – Personal Involvement is Important
Lumber selection is an important part of any project’s successful outcome. This is why I personally inspect and select each piece of wood for my handcrafted furniture. Why? Because if you just ask the lumber yard to deliver a type and quantity of lumber, they will just select the easiest to load wood. Most, if not all, of these boards are the ones on top that have already been picked through and are more likely to be undesirable. So, spending the time digging through the lumber stack leads to boards with a better grain and potential for stunning figure. For this project I was able to find highly figured Curly Maple and Koa with some various colors. Once the vanity is complete the personally selected wood choices will shine.
The Build Process- Attention to Detail is Critical to Custom Furniture
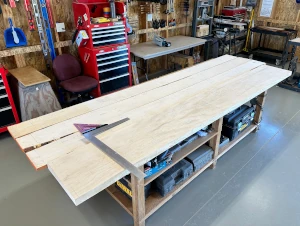
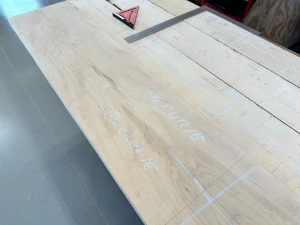
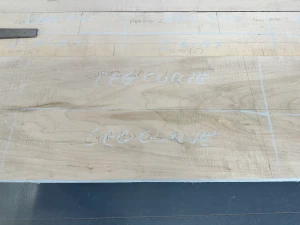
Layout of Parts
The build process starts with laying out all the parts on the lumber. Using a pencil, tape measure and square I layout the parts slightly oversized. I also add a couple inches to cutoff at the ends to avoid any cracks. Originally when I selected the boards, I used chalk to make all the needed parts. This was to make sure that I could get all parts from the chosen boards. When it comes time to cut the parts from the boards, I may be able to get better grain patterns or yield if I move things around. The original layout usually turns out the best but occasionally I can find better grain for a specific part. For example, the curved stiles (legs) on the insides of the front and rear panels were moved from the original location to take advantage of a naturally curved grain pattern of the wood. This was subtle but adds to the overall symmetry of the appearance.
“Square up” the Wood
The term squaring up the wood refers to surfacing and cutting the wood. Working with square and properly machined lumber makes the process of building much easier and more accurate. This is done to every piece of lumber used in the building of a project.
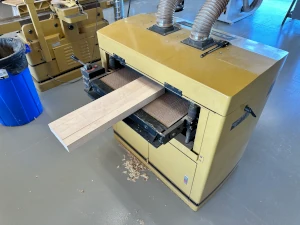
The step in the process is to surface both face completely flat and parallel to each other. This is done using a planner or double drum sander. The planner “slices” wood off the surface until the wood is slightly thicker than needed. Then a drum sander is used to complete the surfacing to the final thickness. The drum sander offers much more accuracy than a planner can offer.
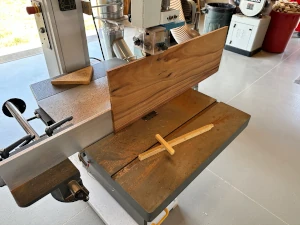
The second step is to joint one edge straight. A jointer is used for this process. The edge of the wood is passed along the table/blade producing a perfectly straight edge the is square to the face.
The next operation is cutting to size both width and length. This completes the preparation of the wood for each part. The wood is now square to the face, edge and ends and the proper with and length.
After the parts are dimensioned, I start making the front and rear frames. These are where the doors and drawers will be as well as the rear panels. The first step is joinery which in this case is loose mortise and tenon. This type of joinery consists of cutting a mortise pocket into two mating sections and using a tenon that has been cut and shaped to fit the mortise and is used to attach the two pieces. It is an incredibly strong way to join wood. After all the joints are cut and fit, I assemble the front frame. I will need to wait on the rear until the panels are finished.
The next step is crafting the panels that will become the rear of the cabinet. Since these will be seen on the rear of the cabinet (the side the bed goes on) I chose to use Solid Ash wood Panels. This meant I need to resaw (slice the wood thin) to create the stock for the panels and glue them edge to edge. Once the glue has dried the panels are surfaced using the Drum Sander. They are then cut to size, fine sanded and stained. I also apply a clear finish to all panels prior to assembly in the rear frame. This is necessary to ensure all the wood is sealed so temperature and humidity changes in the future do not cause the wood to crack.
Panel Build
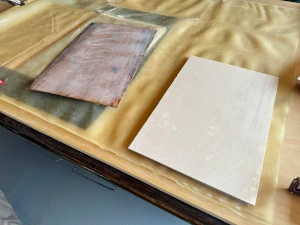
The panels are the first parts to be crafted. Since they will fit in the sides of the legs and rails, they need to be sized first. The wood for the panel includes Koa for the exterior and Poplar for the rear glued to a core of baltic birch plywood. Baltic birch plywood provides a stable and consistent substrate to attach the Koa and Poplar Veneer for a smooth stable panel.
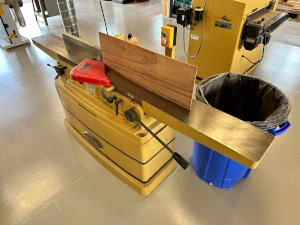
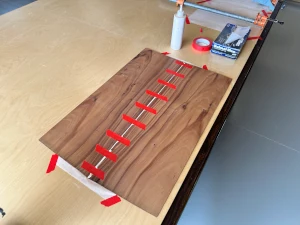
I start by re-sawing the block of Koa that is about 1-3/4” thick. 1/8” thick slices are removed from the block at the bandsaw. [photo of re-sawing Koa] I do the same to the 1” thick poplar for the rear of the panel. The plywood substrate is cut to size , slightly larger than the finished panel. I then glue to Koa and Poplar veneer pieces together book matched edge to edge to form the full width of the panel. [photo of gluing the veneer]Book matched means to fold the wood slices apart like the pages of a book, so the grain matches on each side of the joint. After the veneer has time to dry, they are sent back through the drum sander to flatten both sides. The final step is gluing the veneers to the plywood using the Vacuum press. The panels are cut to finished size and ready to be inset in the frames.
Stiles and Rails
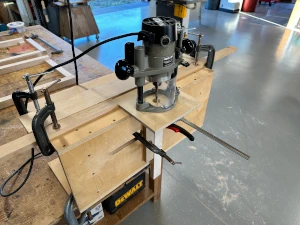
The process of crafting the stiles and rails for this project is more complex than other furniture I have built. The first step, however, is the same. I square the parts and cut all of them to size. The next step is mortising all the stiles and rails. I use a technique known as loose mortise and tendons. This uses a mortise cut into each matting part with a tendon cut to length to join the two pieces. [photo of routing mortises] Once that process is complete, I assemble all the parts and check the fit.
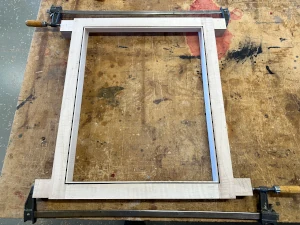
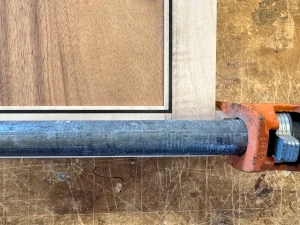
Step two is to inlay the ebony. The client specified they wanted Ebony wood inlay around the panels. I start this process by routing a groove around the edge of the assembled side. [photo of groove for ebony inlay]I then cut and surface the Ebony to fit into this groove. To add a little more detail I add Curly maple to the inlay as well. This allows for a lighter contrast between the Ebony and Koa woods. [photo of inlayed Ebony into Side]

Glue Sides
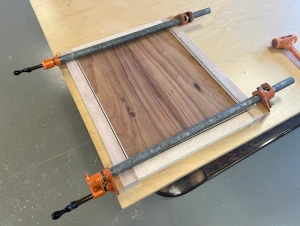
At this point the side has the Koa panels surfaced, cut to size and finished sanded. The stiles and rails are also cut, inlayed and sanded. I head over to the glue bench and glue the parts together to form the sides of the vanity. [photo of gluing the side]

Curved Legs Creation
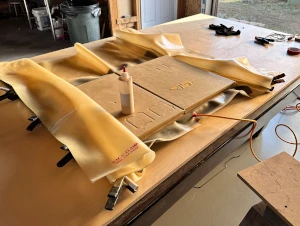
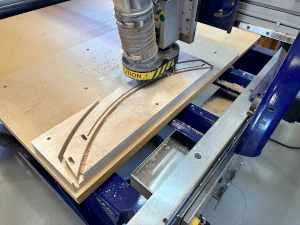
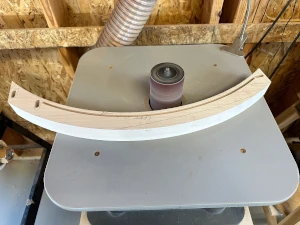
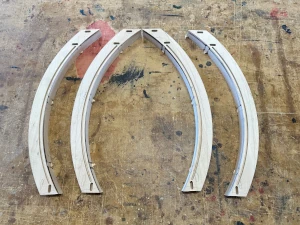
The most challenging part of this project is upon me. The curved legs pose several unique challenges such as joinery in curved parts and fitting the parts together with several curves. I started by creating a part file of the legs for the CNC Machine to cut the profile and all the mortises needed. [photo of Aspire design]This ensures that all joinery is in the proper place and straight and parallel to other parts. Once I have the file, I head to the machine to cut the parts. This is more of a accuracy requirement than a time saver as it takes longer to layout the parts and create the files required than to cut. Once the parts are “run” I am ready to fit the top and bottom rails to create the rear of the vanity. [photo of All parts on bench]

Stay Tuned for More to Come!
I will be updating this blog as the progress of the build moves along. As always please feel free to contact me with any questions or comments.